
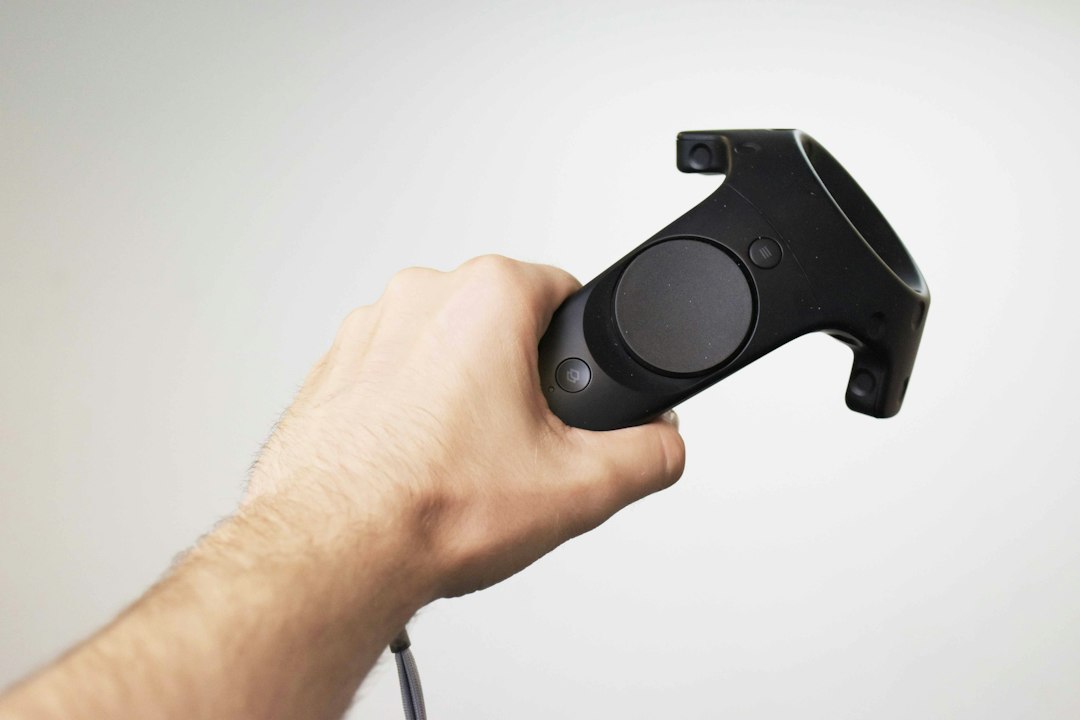

The short answer: grabbed objects usually jitter in Unity VR because the controller pose is updated every rendered frame while a physics-driven object moves on the fixed physics clock. Fix the mismatch by choosing the correct XR Grab Interactable movement type, cleaning up the Rigidbody and collider hierarchy, using a deliberate attach pose, and applying smoothing only after the basic motion is stable.
Do not start by increasing every smoothing value. That can hide visible shake while adding hand lag, soft collisions, or inaccurate throws. A stable grab begins with deciding whether the object should prioritize minimum latency, reliable physical collision, or a compromise between the two.
Why does VR grab jitter happen?
A tracked controller can receive a new pose more often than Unity runs its physics simulation. Unity’s XR Interaction Toolkit moves Instantaneous objects every frame, but Kinematic and Velocity Tracking objects are applied during physics updates. When the headset renders between those steps, the object can appear to jump between poses.
That timing problem is only one possible cause. Jitter can also come from a collider fighting the environment, two scripts writing to the same Transform, a Rigidbody under a scaled parent, an attach point inside the controller, or a movement mode that does not match the object’s purpose.
Choose the movement type before tuning anything
The current XR Grab Interactable documentation provides three movement types. Each makes a different trade-off:
| Movement type | Best for | Main trade-off |
|---|---|---|
| Instantaneous | Lightweight props where hand responsiveness matters most | Direct Transform motion can miss or calculate collisions incorrectly. |
| Kinematic | Objects that should respect solid geometry without fully dynamic hand-following | Physics-step motion can look less smooth than rendered controller motion. |
| Velocity Tracking | Physical tools and props that must push against other colliders | The object may lag behind the hand and needs careful velocity tuning. |
Use Instantaneous only when its collision compromise is acceptable. Choose Kinematic for controlled, collision-aware manipulation. Choose Velocity Tracking when physical contact is central to the interaction. There is no universally correct setting for every prefab.
Build a clean physics hierarchy
Unity requires a Rigidbody for an XR Grab Interactable and a Collider for interaction. Mesh Colliders used by interactables must be convex. A dependable prefab normally looks like this:
- GrabObject — Rigidbody, XR Grab Interactable, grab transformer
- Visuals — meshes and renderers only
- Colliders — simple Box, Sphere, Capsule, or convex Mesh Colliders
- AttachPoint — an empty Transform defining the intended grip pose
Keep the Rigidbody on the interactable root. Avoid another Rigidbody on a child unless that child is intentionally a separate physical body connected by a joint. Check that the root and its parents use a scale of 1,1,1; non-uniform scaling can make collider behavior and offsets harder to reason about.
Use primitive colliders where possible. A detailed render mesh rarely needs an equally detailed collision surface. Fewer, simpler colliders are easier for physics to solve and are generally a better fit for standalone VR performance.
Use the attach point to remove snapping and torque
If the object snaps sideways, rotates unexpectedly, or begins inside the controller, create a dedicated AttachPoint and align it to the place where the hand should hold the object. Assign it to Attach Transform. This makes the intended pose explicit instead of relying on the model’s import pivot.
For objects that should remain where the player touches them, enable Use Dynamic Attach. The toolkit can match the interactor’s position and rotation at selection time and optionally keep the dynamic point on or inside the collider volume. Test static and dynamic attachment separately; combining an incorrect manual attach pose with dynamic matching can make diagnosis confusing.
When should you use Rigidbody interpolation?
Unity’s Rigidbody interpolation guidance says interpolation can reduce visible jitter when the physics rate is lower than the rendered frame rate. It also delays the displayed pose by one physics update. In ordinary games that delay may be subtle; in VR, the distance between the hand and held object can make it obvious.
Therefore, do not enable Interpolate automatically on every grab object. First confirm that physics timing is the source of the stutter. Then compare None and Interpolate in the headset while standing still, moving the hand, and turning with locomotion. The smoothest option on a monitor is not always the most convincing option in VR.
Use Predicted Visuals for physics-based grabs
XR Interaction Toolkit 3.6.1 provides a particularly useful option for Kinematic and Velocity Tracking movement: Predicted Visuals Transform. Put the renderers under a child named Visuals, keep all colliders outside that child, and assign Visuals to the property. The toolkit can then update the appearance every frame while the Rigidbody remains synchronized with physics.
This can deliver physics-aware collision with a more responsive visual result. It does not bypass collisions: while the Rigidbody is contacting something, the visual prediction stops and the physical pose takes priority. That is valuable feedback, because continued shaking during contact often points to overlapping colliders or an impossible target pose rather than a rendering problem.
Tune smoothing in a controlled order
- Disable position and rotation smoothing while establishing a correct baseline.
- Verify the movement type, Rigidbody, colliders, parent scale, and attach point.
- Test the object without touching walls or tables.
- Enable smoothing on one property at a time.
- Use tightening to keep the smoothed pose close to the tracked target.
- For Velocity Tracking, adjust velocity damping and scale in small increments.
- Tune throw smoothing separately; release behavior should not decide held-object stability.
If two systems write to the object—such as XR Grab Interactable plus a custom follow script—disable one. The same rule applies to animation, networking correction, socket logic, or a script that reparents the object every frame.
A practical headset test
Test in this order: hold the object still; move it slowly; move it quickly; touch a wall; rotate the wrist; walk or snap-turn while holding it; release it; and finally throw it. Record which phase introduces the problem. A vibration only during collision is different from regular stepping in free space or a jump caused by a bad attach pose.
Always finish on the target headset. Editor simulation is useful for validating selection and hierarchy, but it cannot reproduce the complete controller-tracking, rendering, and performance conditions of a standalone Meta Quest build.
Why stable grabs matter in Periodic Table VR
In an educational experience such as Periodic Table VR, players inspect atoms, molecules, and scientific objects at close range. Even a small tremble becomes distracting when the object is near the face or must align with another model. A stable, predictable grab supports both comfort and learning.
Held-object behavior should also be tested alongside VR locomotion settings, because turning can expose latency that is invisible while stationary. If rays or buttons are the problem rather than physical props, use the separate VR UI troubleshooting guide.
The reliable fix in one sentence
Match the movement type to the interaction, keep one clean physics authority, separate visuals from colliders, define a sensible attach pose, and add only enough smoothing to remove visible stepping without disconnecting the object from the player’s hand.
Explore more practical VR and mobile development articles and Blekol’s games at Blekol Games.
Featured image: photo by Jesper Aggergaard on Unsplash.
Leave a Reply
You must be logged in to post a comment.