
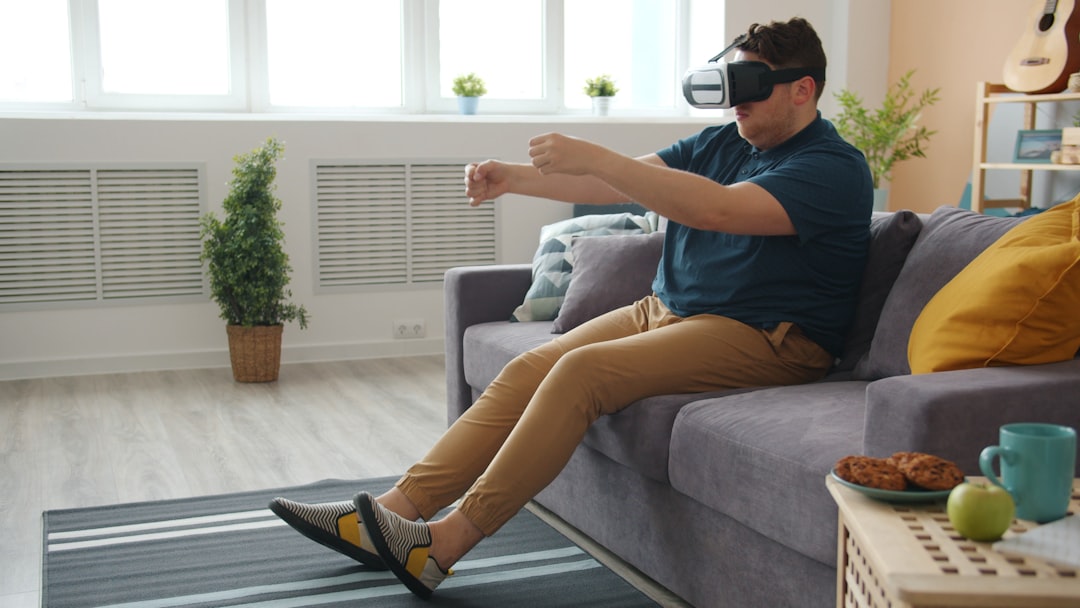

For most VR projects, begin with teleportation plus snap turning as the comfort-first baseline, then offer smooth movement and smooth turning as optional modes when the game genuinely benefits from continuous travel. That is the short answer to choosing VR locomotion in Unity. The longer answer depends on level scale, player goals, physical play space, and how much visual motion the experience creates without matching movement from the body.
Unity’s XR Interaction Toolkit already supplies the core pieces: an XR Origin, a locomotion mediator and body transformer, plus providers for teleportation, snap turning, continuous turning, continuous movement, climbing, and grab movement. The hard part is not finding a component. It is combining those components into a predictable, testable comfort system.
What should each locomotion mode be used for?
| Mode | Best fit | Main trade-off |
|---|---|---|
| Teleportation | Exploration, puzzle rooms, educational scenes, and comfort-first onboarding | Breaks continuous spatial motion and can make navigation feel less physical |
| Snap turning | Standing or seated play where users cannot turn freely in the real room | Discrete rotation can feel less natural, but is easy to understand |
| Smooth movement | Large worlds, action games, and experiences where continuous traversal is central | Creates more visual motion and can be uncomfortable for some players |
| Smooth turning | Experienced users who want conventional stick-based control | Often feels more intense than smooth forward movement |
| Room-scale movement | Small interaction zones and tabletop-scale gameplay | Limited by the player’s safe physical boundary |
No row is a universal winner. A good design can use room-scale movement for local interaction, teleportation between stations, and an optional continuous mode for players who prefer it.
Build a comfort-first locomotion baseline
1. Establish one authority over the XR Origin
Keep every artificial movement provider connected to the same locomotion architecture. In XR Interaction Toolkit 3.4, providers request access through the Locomotion Mediator, while queued transformations are applied to the XR Origin through the XR Body Transformer. This avoids several scripts independently changing the rig in the same frame.
Import the toolkit’s Starter Assets if you want a working input map and reference rig, but treat the sample as a starting point. Remove unused providers and bindings so the project has one clear path for movement and one for turning.
2. Configure teleportation as the safe default
Add a Teleportation Provider and decide where landing is legal. Teleportation Areas work for broad walkable surfaces; Teleportation Anchors are better when a destination needs an exact position or facing direction. A visible arc, valid-target marker, and invalid-target state should agree with the collision result. Never show a legal landing reticle and then reject the move after release.
The provider can delay a teleport, which gives a fade or tunneling effect time to appear before the XR Origin changes position. Keep the transition brief and test whether the user still understands where they landed. A comfortable transition that destroys orientation is still a navigation problem.
3. Pair it with snap turning
The Snap Turn Provider rotates the rig by a fixed angle and exposes turn amount, debounce time, optional 180-degree turning, and controller input. Start with a clearly noticeable step, then test smaller and larger values on the headset. There is no single angle that suits every audience, so expose at least a small set of choices instead of hiding the value in a developer menu.
Debounce matters. The stick should return toward neutral before another turn is accepted, or one intended turn can become a rapid series. Also confirm that the turn action does not conflict with teleport aiming, menus, or object manipulation.
4. Add continuous movement as an opt-in profile
The Continuous Move Provider reads a two-dimensional input action and can use a chosen transform as its forward source. Head-relative forward feels intuitive to many players but makes looking sideways alter travel direction. Hand-relative forward separates gaze from movement but can change when the player points or reaches. Test both with the interactions your game actually uses.
Start with conservative acceleration and speed, prevent surprise vertical motion, and decide whether strafing is necessary. If the level does not need flying, leave it disabled. Smooth turning should be a separate option; some users tolerate smooth forward movement but strongly prefer snap rotation.
Use a vignette as support, not a cure
XR Interaction Toolkit includes a Tunneling Vignette Controller that can react to locomotion providers. It can narrow the visible aperture while movement occurs and ease the effect in and out. That may help some users, but it should not compensate for camera shake, frame-time spikes, forced head motion, unexpected acceleration, or incorrect tracking scale.
Offer vignette strength as a setting, preview it on the headset, and make sure the effect never remains stuck after movement ends. Unity’s documentation specifically advises toggling the whole vignette GameObject when changing the feature at runtime, because disabling only the controller can leave its renderer visible.
Make comfort profiles simple to maintain
Put providers for each mode under separate GameObjects and switch profiles from one settings controller. This keeps UI code from knowing about every individual component:
using UnityEngine;

public sealed class LocomotionModeSettings : MonoBehaviour
{
    [SerializeField] private GameObject teleportAndSnap;
    [SerializeField] private GameObject smoothMoveAndTurn;

    public void UseSmoothMode(bool enabled)
    {
        teleportAndSnap.SetActive(!enabled);
        smoothMoveAndTurn.SetActive(enabled);
        PlayerPrefs.SetInt("smooth-locomotion", enabled ? 1 : 0);
        PlayerPrefs.Save();
    }
}
For a production menu, separate movement mode, turning mode, vignette strength, dominant hand, speed, and turn amount rather than reducing everything to one boolean. Restore the saved choices before gameplay starts so returning players do not receive an unexpected camera movement.
Sometimes the best locomotion system is a smaller play space
Locomotion should serve the mechanic, not prove that the world is large. Cubus 2: Colors VR centers on grabbing cubes, using a color table, and solving spatial color-logic challenges. That kind of interaction-focused design can keep meaningful actions within a stable zone instead of asking the player to cross an oversized room repeatedly.
The same principle helps educational experiences. Periodic Table VR lets players examine elements, atom models, and molecules in 3D space. When the learning object is the focus, predictable placement and comfortable access are often more valuable than dramatic traversal.
A seven-step Unity setup sequence
- Add one XR Origin, XR Body Transformer, and Locomotion Mediator.
- Add Teleportation Areas or Anchors and verify every landing result.
- Bind snap turning to a dedicated two-dimensional input action.
- Place continuous move and turn providers in an optional profile.
- Connect the vignette to the providers that should trigger it.
- Expose comfort choices and restore saved values before play.
- Build to the target headset and profile while each mode is active.
Test VR locomotion on the headset
- Onboard from the safest preset. Let players discover advanced modes voluntarily.
- Test standing and seated use. Confirm every required object and menu remains reachable.
- Try small physical spaces. Room-scale assumptions can fail in a compact boundary.
- Check input conflicts. Teleport, turning, grabbing, UI rays, and pause actions must not compete.
- Profile while moving. Watch for frame-time spikes during landing, level streaming, effects, and physics activation.
- Observe new users. Ask what they expected before explaining the controls; hesitation often reveals a weak cue.
- Stop on discomfort. A test session is not an endurance challenge, and comfort varies between people.
A practical shipping rule
Ship the smallest locomotion set that fully supports the game, but give players meaningful comfort control. For a compact puzzle or learning experience, that may be room-scale interaction with teleportation and snap turning. For a broad action world, it may be teleport and snap by default, with continuous movement, smooth turning, and an adjustable vignette available from the first menu.
Unity provides the movement primitives; the developer’s job is to make the result legible, stable, and optional where comfort differs. If you want to see how focused VR interactions can carry a game without unnecessary movement, explore Blekol Games and try the studio’s spatial puzzle and educational VR projects.
Official references: Unity’s XR locomotion overview, Teleportation Provider, Snap Turn Provider, Continuous Move Provider, and Tunneling Vignette Controller.
Featured photo by Vitaly Gariev on Unsplash.
Leave a Reply
You must be logged in to post a comment.