

To bake high-poly detail onto a low-poly model in Blender, align both meshes, unwrap the low-poly UVs, create an image target, select the high-poly source and then the low-poly active object, enable Selected to Active, and bake a tangent-space normal map in Cycles. The finished map stores surface-direction detail from the dense mesh so the lighter mesh can react to lighting as if it has many of the smaller forms.
That does not make the polygons disappear for free. A normal map cannot repair a weak silhouette, create real depth at an object’s edge, or replace geometry needed for animation, collision, and close interaction. It moves selected surface detail from geometry into a texture—an especially useful trade for mobile and standalone VR, where both mesh complexity and texture memory need deliberate budgets.
What should stay in geometry?
Before baking, separate form into three levels:
| Detail | Best representation | Examples |
|---|---|---|
| Primary form | Low-poly geometry | Silhouette, large cut-outs, handle thickness, moving parts |
| Secondary form | Geometry or normal map | Wide bevels, shallow panels, medium grooves |
| Surface detail | Normal map | Small seams, screws, engraved lines, dents, fine sculpting |
Test the low-poly mesh as a flat gray object. If its outline collapses or a feature must be grasped, hit, or seen in profile, keep that feature in geometry. If it mainly changes how light travels across a surface, it is a strong baking candidate.
1. Prepare matching high- and low-poly meshes
Keep the two objects in exactly the same location and orientation. Give them clear names such as console_high and console_low. Apply Rotation and Scale where appropriate before the final UV and bake work; unexplained object scaling changes projection distances and makes later export harder to diagnose.
The high-poly mesh can use subdivisions, bevels, Boolean details, or sculpting. The low-poly version needs efficient topology, stable shading, and the final silhouette. Do not edit the low-poly vertex positions after baking unless you plan to rebake, because tangent-space data is tied to the receiving mesh’s surface and UV layout.
2. Unwrap the low-poly model first
The normal map is written into the low-poly model’s UV space, so finish its main unwrap before baking. Mark seams where the object can separate logically, run UV > Unwrap, and inspect the islands for severe stretching. Blender’s manual compares seams to cuts made while peeling a surface: the goal is to flatten the form without forcing unrelated areas to distort.
- Keep unique baked islands from overlapping.
- Give important visible areas enough texel space.
- Leave padding between islands so lower mip levels do not sample neighboring detail.
- Place seams where they are less visible or where the surface already changes direction.
3. Create the receiving image correctly
In the low-poly material, add an Image Texture node and create a blank image. Choose its resolution from the asset’s screen size and texel-density plan rather than automatically choosing the largest option. A small handheld object viewed near the VR camera may justify more density than a distant background prop, but oversized maps still consume storage, memory, and bandwidth.
Keep the Image Texture node selected so Blender knows the bake target. For a tangent-space normal map, treat the image as data rather than color: use Non-Color when previewing it through a Normal Map node. Blender’s official Normal Map documentation notes that tangent-space maps require matching UV coordinates and non-color data handling.
4. Configure Selected to Active
Switch the render engine to Cycles, open Render Properties, and find Bake. Set the bake type to Normal, use Tangent space for a deformable or reusable game asset, and enable Selected to Active.
Selection order and bake steps
- Select the high-poly source object first.
- Shift-select the low-poly receiver last, making it the active object.
- Confirm the low-poly object’s target image node is active.
- Choose either a small ray distance or a cage workflow.
- Set a useful bake margin around UV islands.
- Run Bake, inspect the image, and save it immediately.
Control the projection distance
Blender casts rays from the low-poly surface to find detail on the selected source. If the projection distance is too short, parts of the high-poly mesh are missed. If it is too large, rays may hit the wrong side or a nearby feature. Increase it only enough to enclose the source detail.
When should you use a cage?
A cage is an expanded copy of the low-poly surface that controls where projection rays begin. It is worth using when automatic distance produces errors around deep corners, narrow gaps, stacked forms, or complicated silhouettes. The cage must fully contain the relevant high-poly detail without crossing into unrelated surfaces.
Blender exposes Cage Extrusion for cage-based projection and a ray-distance control when a cage is not used. Treat them as diagnostic tools, not magic quality sliders. First check alignment, normals, transforms, UVs, and active-object order; then refine the projection envelope.
Fix common baking artifacts
| Artifact | Likely cause | First fix |
|---|---|---|
| Black or empty patches | Rays miss the high-poly surface | Correct alignment, normals, or projection distance |
| Details from the opposite side | Projection reaches too far | Reduce distance or build a tighter cage |
| Wavy shading on flat panels | Low-poly topology or vertex normals carry too much curvature | Add supporting geometry or revise hard edges |
| Lines around UV islands | Too little bake padding | Increase margin and repack islands |
| Dents appear raised in Unity | Green-channel convention differs | Use Unity’s Flip Green Channel option |
Import the normal map into Unity
Export the final low-poly mesh using the consistent transform workflow described in Blekol’s Blender-to-Unity export checklist. Copy the baked image into the Unity project, select it, and set Texture Type to Normal Map. Unity then formats the asset for real-time normal mapping and exposes options such as Flip Green Channel, mipmaps, filtering, and platform overrides.
Assign it to the material’s normal input and inspect the model under the actual render pipeline and lighting used by the game. Leave Read/Write disabled unless scripts need CPU access to the pixels; Unity documents that readable textures keep an additional CPU copy and therefore require more memory.
Why this matters for mobile and VR games
In VR, players can bring their head and hands close to an object, so both silhouette quality and stable shading are easy to judge. A focused experience such as Cubus 2: Colors VR shows why clear forms and readable color logic matter more than covering every object with microscopic noise. Bake detail that supports the form, then preserve clean edges and material contrast.
Educational objects in Periodic Table VR also benefit from clarity at close range. The same rule applies: use geometry for the shapes the player must understand and normal maps for lighting detail that does not need physical depth.
Final game-ready checklist
- The low-poly silhouette works without the normal map.
- High and low meshes share location, rotation, and scale.
- The low-poly UVs are final, padded, and non-overlapping where detail is unique.
- The active image is saved outside the temporary Blender session.
- No rays project through to unrelated surfaces.
- Unity imports the texture as a Normal Map.
- The result is checked under game lighting and on the target mobile or VR device.
A clean bake is less about one perfect setting than a repeatable chain of decisions. Protect the silhouette, give the receiver sensible UVs, control the projection, and validate the actual engine import. For more practical notes from a small VR and mobile studio, explore Blekol Games.
Official references: Blender’s Render Baking, UV Unwrapping, and Normal Map node documentation, plus Unity’s Normal Map import settings.
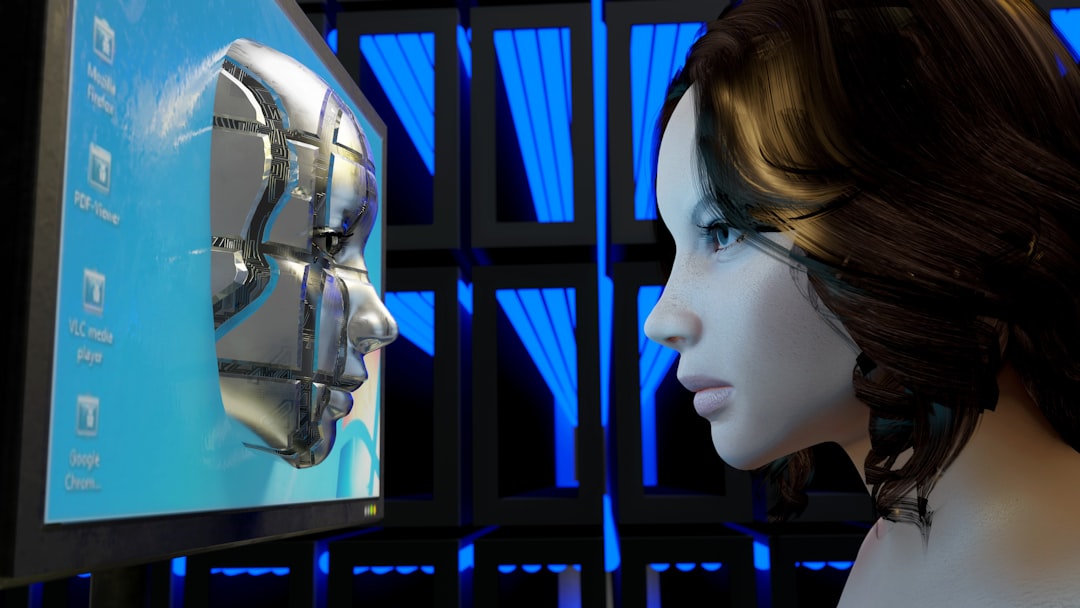
Featured photo by Andres Siimon on Unsplash.
Leave a Reply
You must be logged in to post a comment.